Introduction
Apple’s older MacBook designs had a removable battery. This provided easy access for battery replacement, or installing a secondary battery for extended mobile computing times. It also provided easy access to memory and the hard drive, empowering end users with the ability to do their own system upgrades and repairs. Of course, a user serviceable design was not good for service centers that made their profits on servicing computers. So, that design needed to be replaced by new systems designed to be non-user-serviceable and very difficult to work on.
Removal Instructions
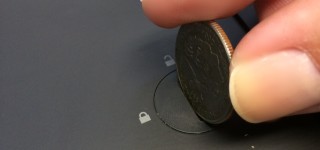
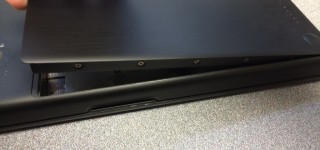
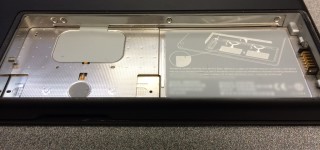
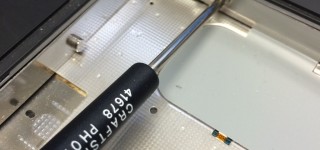
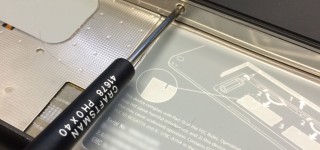
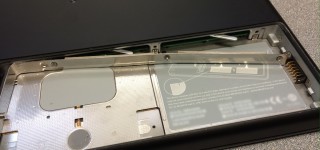
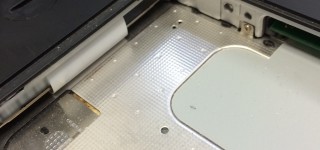
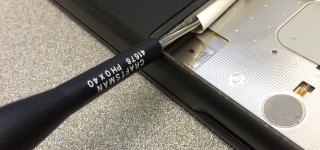
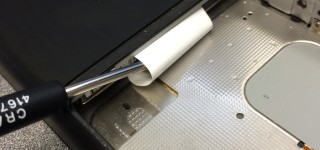
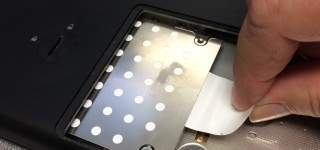
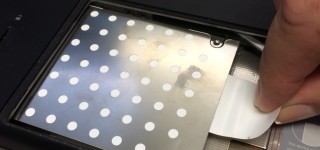
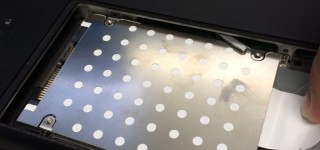
For opening an older style MacBook (with plastic case) you simply need a quarter or similar object to unlock the battery. Remove the battery, and then remove the three screws along the long edge of the battery compartment (as shown in the pictures below). Memory sticks are found along the long edge of the battery compartment. The hard drive is found on the side of the battery compartment and can be pulled out by pulling on the white plastic tab.
Tools Needed
Below are the tools you’ll need. These are available in most screwdriver sets, such as the TEKTON 2841 Everybit and Electronic Repair Screwdriver 135 Piece Bit Set. Do a search on Amazon for screwdriver set torx to find other options.
- Small Phillips Screwdriver (Size PH0)
- Torx Screwdriver (Size T8)
Photos
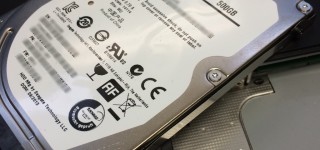
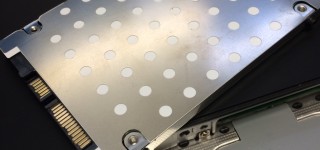
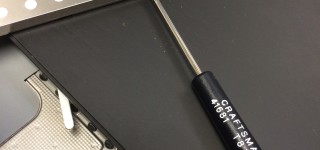
Below are photos showing the process of accessing the hard drive. The memory sticks are removed using the metal levers that stick out along the width of the battery enclosure. New memory is inserted by sliding it in and pushing until it’s fully inserted and seated in the slots. Click any image for a larger gallery view.


